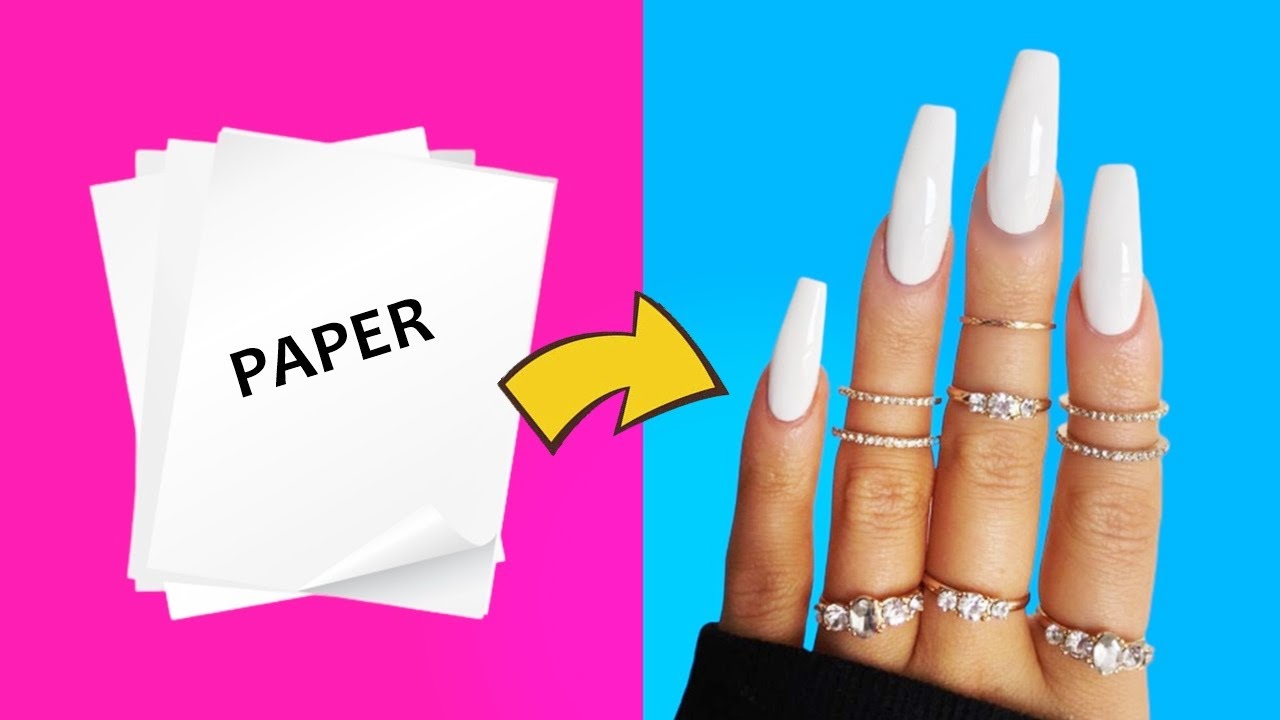
Paper nails offer a creative, economical, and customizable alternative to traditional manicures.
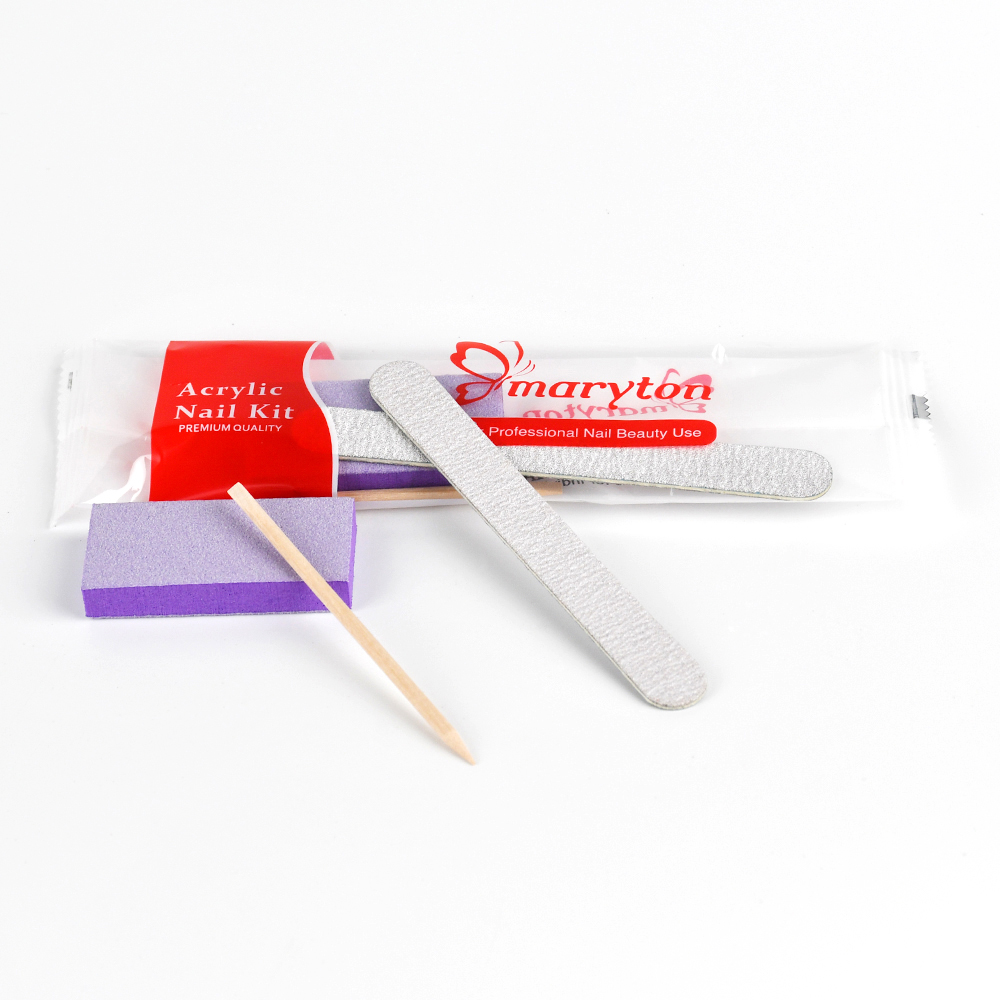
- Essential supplies: strong paper (self-adhesive clear, decorative tape, thin kraft paper), nail scissors, professional glue, and top coat.
- Preparing your natural nails with manicure kit is crucial for durability (cleaning, pushing back cuticles).
- Create your personalized designs by measuring each nail before cutting.
- Layer several thin layers for a more durable result and apply two coats of top coat.
- Protect your creation from water and use gloves when doing household chores.
Welcome to the creative art of paper nails! This affordable and fun technique allows you to transform your hands without spending a fortune. Today, I’m sharing with you all the secrets to creating this original manicure at home.
Materials Needed to Create Paper Nails
Before beginning your paper nail project, it’s essential to gather all the necessary materials. Selecting the right paper is the fundamental step in this technique. Choose paper that’s strong enough yet flexible enough to conform to the natural shape of your nails.
Preparing and Designing Your Paper Nails
Properly preparing your natural nails determines the durability of your paper manicure. Start by thoroughly cleaning your nails with acetone-free nail polish remover to remove all traces of oil. This step ensures better adhesion of the paper.
Then gently push back your cuticles with a wooden stick. A well-prepared nail provides a larger and smoother surface for applying the foil.
Preparing the foil nails
To create your custom nail templates, follow these steps:
1. Measure the width and length of each nail
2. Draw the desired shape on the selected foil
3. Carefully cut along the contours
4. Test the fit on each nail before applying
5. Adjust if necessary with scissors
The artistic customization of your foil nails represents the most creative aspect of this technique. You can opt for minimalist designs with geometric lines or more elaborate patterns like flowers or landscapes. Current trends favor asymmetrical designs and subtle gradients that add dimension and depth to your nails.
For a more durable finish, layer several thin layers of foil instead of a single thick layer. This method ensures greater flexibility while strengthening the structure. Between each layer, apply a thin film of glue to perfectly blend the different thicknesses.
Application Techniques and Long-Lasting Hold
Applying your foil nails requires precision and patience. Start by applying a protective base coat to your natural nails, which will act as a barrier against the glue’s chemicals. This preventative step will preserve the long-term health of your nails.
How to Apply Foil Nails?
To properly apply each foil nail:
Place a drop of nail glue in the center of your natural nail and spread it evenly with a fine brush. Gently position the foil cutout, starting at the cuticle and gradually unrolling to the tip. Press firmly for 10 seconds to eliminate any air bubbles and ensure perfect adhesion.
Once the foil nail is perfectly positioned, seal it with a generous coat of clear top coat, which will significantly extend the life of your manicure.
Preserving Your Paper Nails
Daily maintenance plays a crucial role in the longevity of your paper nails. Avoid prolonged water exposure and harsh household products that can weaken the structure. Wear gloves when performing household chores and reapply a thin layer of top coat every three days to maintain shine and protection.
When it’s time to remove your designs, be gentle to preserve your natural nails. How to remove paper nails without damage? Soak a cotton ball in acetone, place it on the nail, and wrap it in foil for 10 minutes. The paper will soften and can be removed without forcing.
Advanced Techniques and Creative Ideas
To take your paper nails to a professional level, a few advanced techniques are worth exploring. Adding small decorative elements like rhinestones or sequins adds a luxurious dimension to your DIY manicure. Attach these embellishments with a drop of special glue or directly into the still-wet top coat.
Textured effects are a major trend this season. Create texture by layering different types of paper or adding fine geometric cutouts. Metallic papers offer a particularly elegant look for special occasions, while floral-patterned papers bring a fresh and soft touch to everyday life.
Don’t hesitate to combine several techniques on the same hand for a personalized nail art effect. For example, alternate a plain nail, a glittery nail, and a geometric patterned nail to create a sophisticated visual harmony. This approach allows you to express your creativity while remaining elegant.
Document your creations and experiments to build your own inspiration catalog. Each new creation will enrich your expertise and allow you to refine your technique. With practice, you’ll quickly develop a signature style that will be admired by those around you.
Read also: The Difference Between Classic and Semi-Permanent Nail Polish