
If you’re new to nail care or DIY manicures, a nail drill might seem intimidating at first. This versatile tool—often used for shaping, buffing, or removing gel polish—can elevate your nail game, but only if you use it correctly. Don’t worry! With a little practice and these simple tips, you’ll master the basics in no time.
1. Know Your Nail Drill
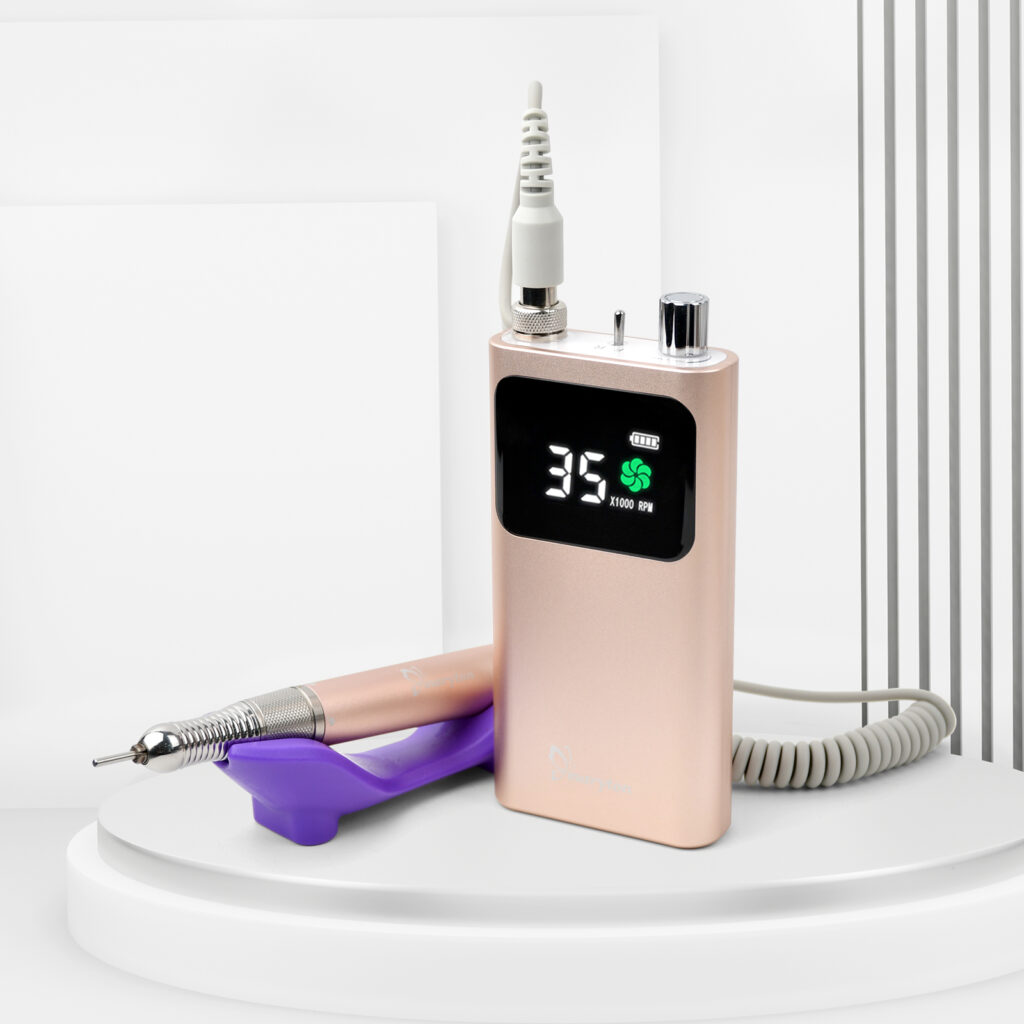
Before diving in, familiarize yourself with the tool. A nail drill machine have:
- Speed settings: Measured in RPM (rotations per minute).
- Different bits: These attachments vary in shape and grit (coarseness).
- Forward/reverse function: Controls the drill’s rotation direction.
Pro tip: Start with a low-speed, cordless drill—it’s gentler and easier to control.
2. Choose the Right Bit
Bits determine what the drill can do. For beginners, stick to these basics:
- Carbide bit (medium grit): Safely removes gel polish or acrylics.
- Sandband bit: Smooths edges and shapes nails.
- Buffing bit: Creates a glossy finish.
Avoid metal bits until you’re confident—they generate heat and can damage nails if misused.
3. Prep Your Nails
Always start with clean, dry nails. Trim and file them to your desired shape first. If removing gel polish, gently buff the top layer to break the seal.
Safety first: Never drill natural nails aggressively. Over-filing weakens them!
4. Master the Technique
- Hold it like a pencil: Grip the drill lightly, resting your hand on a stable surface.
- Angle matters: Keep the bit parallel to your nail. Pressing at an angle can gouge the surface.
- Less is more: Let the drill do the work. Apply minimal pressure and move the bit in small, steady motions.
Speed guidelines:
- Low speed (5,000–10,000 RPM): Shaping natural nails or removing polish.
- Medium speed (10,000–15,000 RPM): Filing acrylics.
- High speed (15,000+ RPM): Reserved for pros—avoid as a beginner!
5. Avoid Common Mistakes
- Don’t stay in one spot: Constant motion prevents friction burns.
- Skip the cuticles: Drilling near live skin causes pain and bleeding. Use a cuticle pusher instead.
- Watch the heat: If the bit feels warm, lower the speed or switch to a lighter touch.
6. Cleanliness is Key
Disinfect bits before and after each use (rubbing alcohol works). Dust buildup affects performance, so wipe the drill with a dry cloth regularly. If conditions permit, it is better to invest in some disposable nail supplies.
7. Practice Makes Perfect
Start on a fake nail tip or an old set of press-ons. Test different bits and speeds to see how they interact with the material. Once comfortable, move to your natural nails.
Final Thoughts
A nail drill isn’t a magic wand—it requires patience and precision. Rushing leads to mistakes, so take your time. Remember: Healthy nails come first. If something feels uncomfortable, stop and reassess.
With these tips, you’re ready to explore the world of nail drills safely. Happy drilling!
Read also: Small Size, Big Power: Discovering the Unique Charm of Mini Sanding Bands