I have a confession to make.
For years, I treated my feet like neglected stepchildren. I’d spend hours on my fingernails—shaping, polishing, perfecting—while my feet got a quick scrub in the shower and maybe some lotion if I was feeling generous. Then sandal season would arrive, and I’d panic-scrub my heels with a pumice stone until they were raw and regretful.
Then I watched a professional pedicurist work her magic. She didn’t rush. She didn’t cut corners. She had a system—one that transformed rough, tired feet into something soft and presentable.
The good news? You can do the same thing at home. No salon appointment needed.
Here’s everything I’ve learned about giving yourself a professional-quality pedicure.
Why Feet Deserve Better?
Let’s be honest: your feet work harder than any other part of your body. They carry you everywhere, stuffed in shoes, walking on hard surfaces, supporting your entire weight. They sweat, they rub against leather and fabric, they develop calluses to protect themselves.
A proper pedicure isn’t vanity. It’s maintenance. It prevents painful cracks, removes rough skin before it becomes problematic, and keeps your feet healthy enough to keep carrying you.
And honestly? Smooth feet just feel better in fresh socks. We all know it.
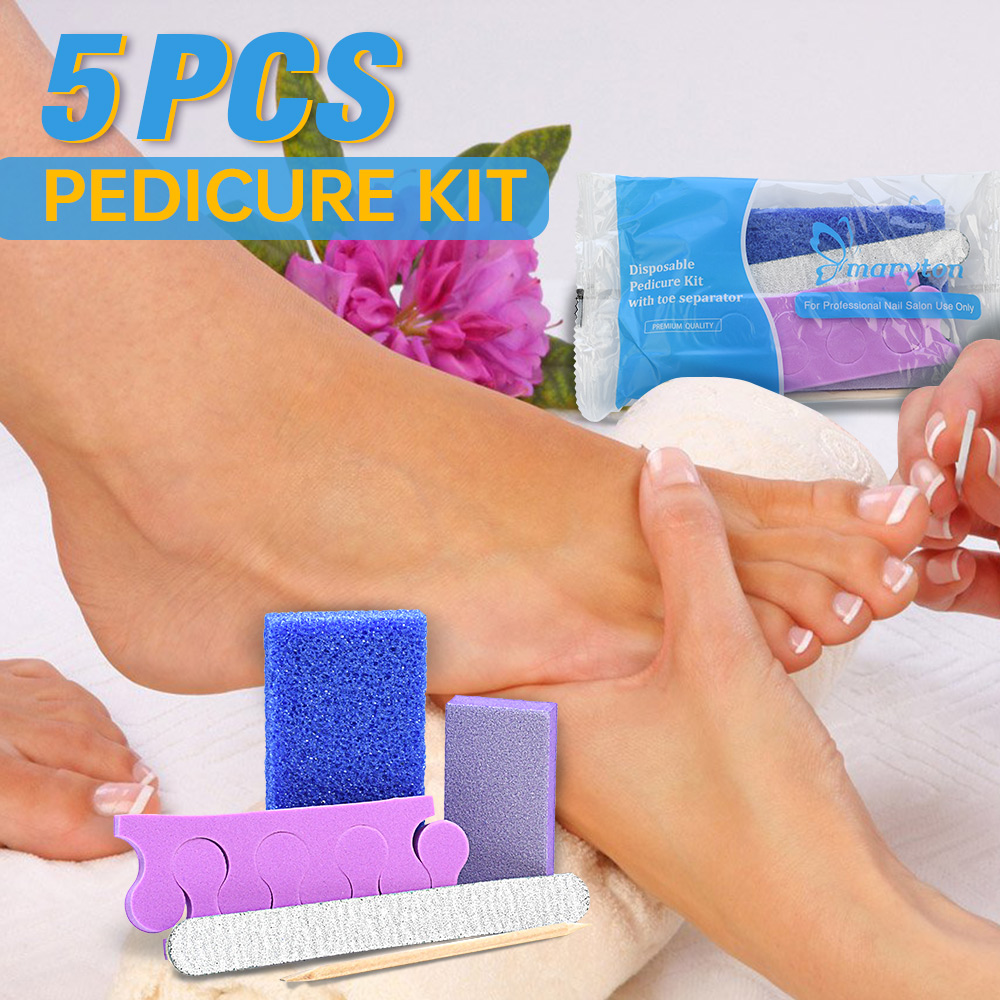
What You’ll Need: The Essential Toolkit
Before starting, gather these supplies:
For Soaking
- Foot basin or large tub (big enough for both feet)
- Epsom salts (soothes muscles and softens skin)
- Gentle soap or foot soak (optional)
- Warm water (not hot—comfortably warm)
For Exfoliation
- Pumice stone or foot file (for rough areas)
- Foot scrub or exfoliating paste (optional but nice)
- Towels (two—one for drying, one for the floor)
For Nail Care
- Nail clippers (straight-edge for toenails)
- Nail file (for shaping)
- Cuticle pusher (metal or wooden)
- Cuticle nippers (for dead skin only)
- Toe separators (keeps polish from smudging)
For Moisture and Finish
- Rich foot cream (thicker than hand lotion)
- Cuticle oil
- Base coat, polish, top coat (if painting)
- Cotton balls or lint-free wipes
- Rubbing alcohol or nail dehydrator
Step 1: Set Up Your Space
A professional pedicure starts with comfort. Find a chair where you can sit comfortably with your feet elevated. Place a towel on the floor to catch drips. Fill your basin with comfortably warm water—test with your elbow, not your foot. Add Epsom salts and a splash of gentle soap if desired.
Put on music, a podcast, or whatever helps you relax. You’ll be here for a while.
Step 2: Soak Those Feet
Soak your feet for 10-15 minutes. Not five. Not twenty. Ten to fifteen is the sweet spot—long enough to soften skin and cuticles, but not so long that everything becomes waterlogged and prune-y.
This step is crucial. Dry exfoliation hurts and doesn’t work well. Soaked skin releases dead cells more easily, with less effort and irritation.
While soaking, relax. This is self-care, not a chore.
Step 3: Exfoliate and Remove Rough Skin
After soaking, remove one foot at a time (keeping the other in warm water). Pat dry with a towel—don’t rub aggressively.
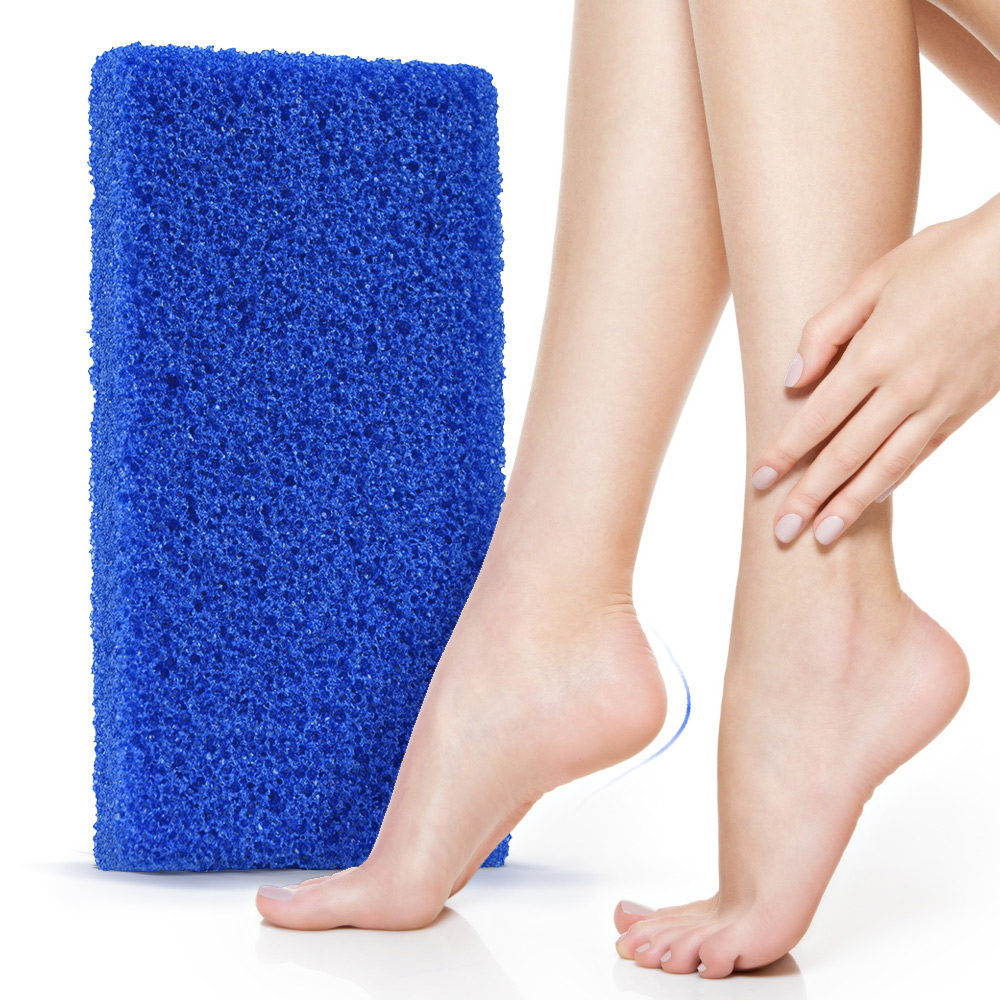
Now for the main event: using your pumice stone or foot file.
Here’s the golden rule: let the tool do the work. Apply light pressure and make small circles on rough areas. Focus on:
- Heel edges
- Outer ball of the foot
- Any callused spots along the sides
Don’t go too hard. If it hurts, you’re overdoing it. The goal is to remove dead skin, not to sand down to living tissue. Pink skin means stop.
For very rough heels, a metal foot file may work better than pumice. Use gentle, even strokes in one direction.
Rinse the foot, check for remaining rough patches, and repeat if needed. Then move to the other foot.
Pro tip: Between feet, add more warm water to the basin if it’s cooled down.
Step 4: Tend to Toenails and Cuticles
Now for precision work.
Trim your nails straight across. Never curve the corners—this leads to ingrown toenails. Leave a tiny bit of length; cutting too short invites pain and problems.
File edges smooth. Use a nail file to soften any sharp corners. File in one direction only.
Push back cuticles gently. Use your cuticle pusher at a 45-degree angle. Never cut living cuticle on toes—it’s too easy to cause infection. Only trim clearly dead, loose skin with nippers, and only if you’re confident.
Clean under nails. Use the pointed end of your pusher or a clean orangewood stick to gently remove debris from under the free edge.
Step 5: Hydrate Generously
Feet have fewer oil glands than hands. They need moisture.
Apply a thick layer of rich foot cream to both feet. Massage it in thoroughly—this isn’t just about moisture, it’s about stimulating circulation and working cream into every crack and crevice.
Pay extra attention to heels and the balls of your feet.
If you have extremely dry feet, consider applying an extra-thick layer and wearing cotton socks overnight. Morning feet will be transformed.
Apply cuticle oil to each toenail. Massage in.

Step 6: Apply Polish (Optional)
If you want color on your toes, now’s the time.
Prep the nails. Wipe each toenail with alcohol on a lint-free wipe. Remove all oil and cream residue—polish won’t stick to oily nails.
Use toe separators. These keep toes apart and prevent smudging.
Apply base coat. Thin layer, cap the free edge. Let dry.
Apply color. Two thin coats are better than one thick coat. Let dry between coats.
Apply top coat. Seal everything. Cap the free edge again.
Clean up. Use a small brush dipped in remover to fix any edges.
Wait. Give your toes at least an hour before putting on socks or shoes.
Step 7: Maintain Between Pedicures
A professional pedicure shouldn’t be a one-time event. Maintenance keeps feet soft:
Moisturize daily. Apply foot cream every night before bed. Even better, follow with cotton socks.
Exfoliate weekly. A quick once-over with a pumice stone after showering prevents buildup.
Check nails regularly. Trim before they get long enough to cause problems.
Wear proper shoes. Shoes that fit well prevent calluses from forming in the first place.
Common Pedicure Mistakes
Soaking too long. Twenty-plus minutes turns skin to prunes and makes it harder to work with. Fifteen minutes max.
Over-exfoliating. If you see pink or feel pain, stop. You’re removing living tissue.
Cutting cuticles. Toe cuticles protect against infection. Push only, trim only dead flaps.
Rounding nail corners. Straight across prevents ingrown toenails. Always.
Skipping moisturizer. Exfoliation removes dead skin; moisturizer keeps new skin soft. Both steps matter.
Rushing polish application. Toes need just as much drying time as fingers. Be patient.
When to See a Professional
Home pedicures work for maintenance, but some situations require a doctor or podiatrist:
- Ingrown toenails that are painful or infected
- Fungal infections (thick, discolored, crumbly nails)
- Open sores or wounds on feet
- Diabetes or circulation problems (always consult your doctor)
- Severe cracked heels that bleed
Your safety matters more than DIY.
The Bottom Line
Professional pedicures at home aren’t difficult—they just require the right steps and a little patience. The soak, the exfoliation, the nail care, the moisture. Each step builds on the last.
Your feet carry you everywhere. They deserve more than a quick scrub in the shower. Give them an hour of attention every few weeks, and they’ll reward you with comfort, softness, and sandal-ready confidence.
And honestly? There’s something deeply satisfying about running your hand over a perfectly smooth heel that you created yourself.
Read also: Those Mysterious White Spots on Your Nails: Should You Worry?