If you use an electric nail file, sanding bands are likely one of your most-used consumables. But with so many grits and sizes available, choosing the right one can feel confusing—especially when using the wrong band can damage natural nails.
Here’s everything you need to know about sanding bands, how to choose them, and why getting it right matters.
Common Types of Sanding Bands
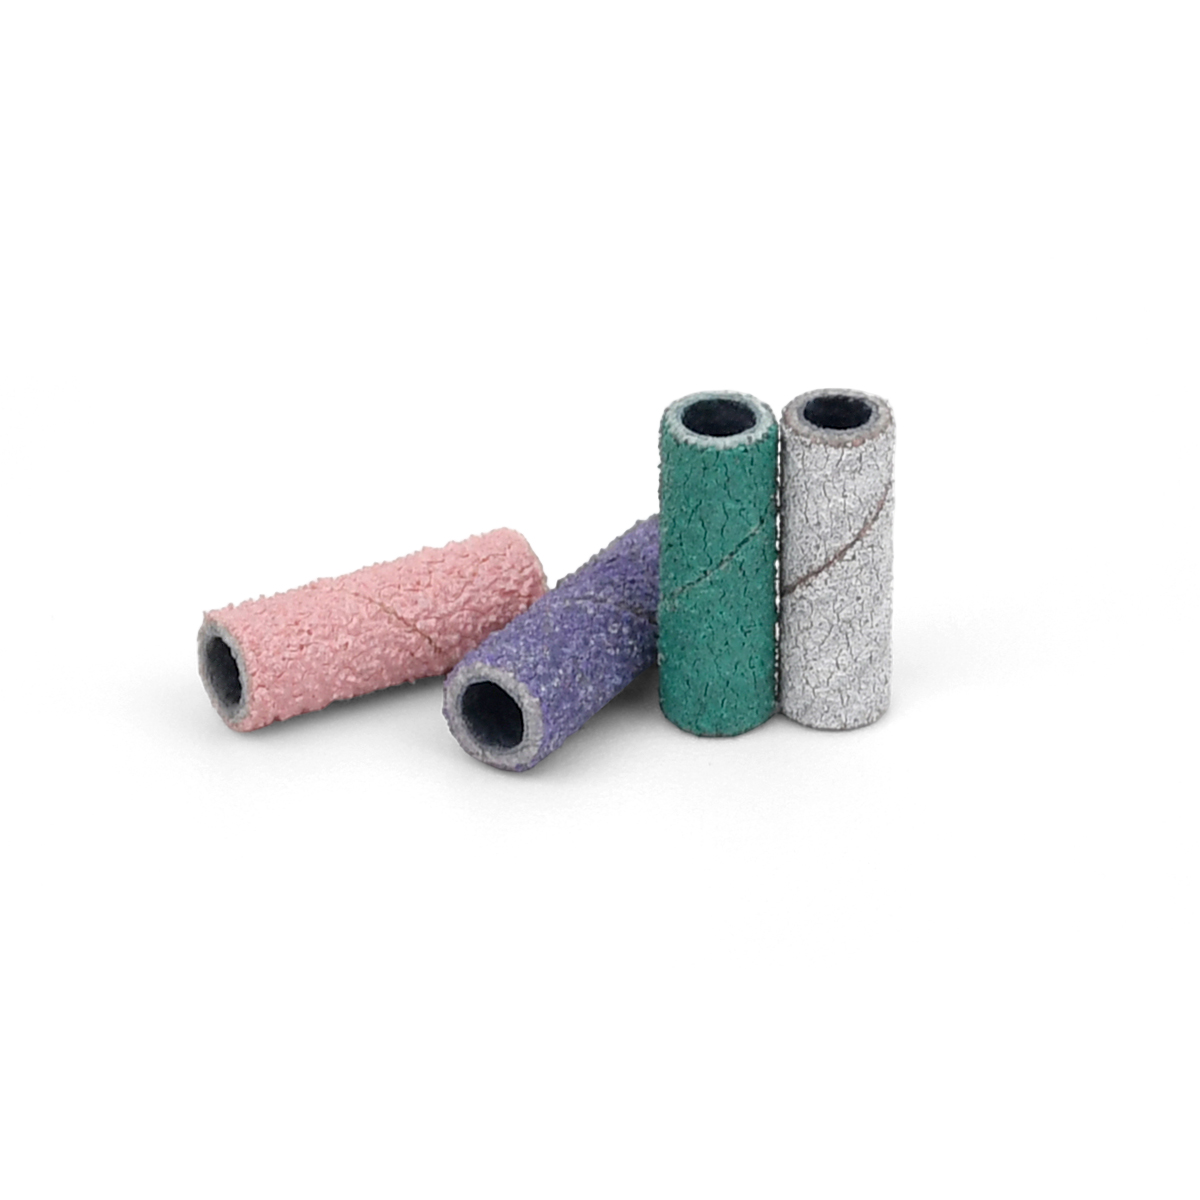
Sanding bands are small, disposable abrasive cylinders that fit onto a mandrel bit. They come in multiple grits, sizes, and sometimes colours, each designed for specific tasks.
Grit Levels (Coarseness)
Grit numbers indicate how coarse or fine the abrasive surface is. Lower numbers are coarse and aggressive; higher numbers are fine and gentle. The most common grits include:
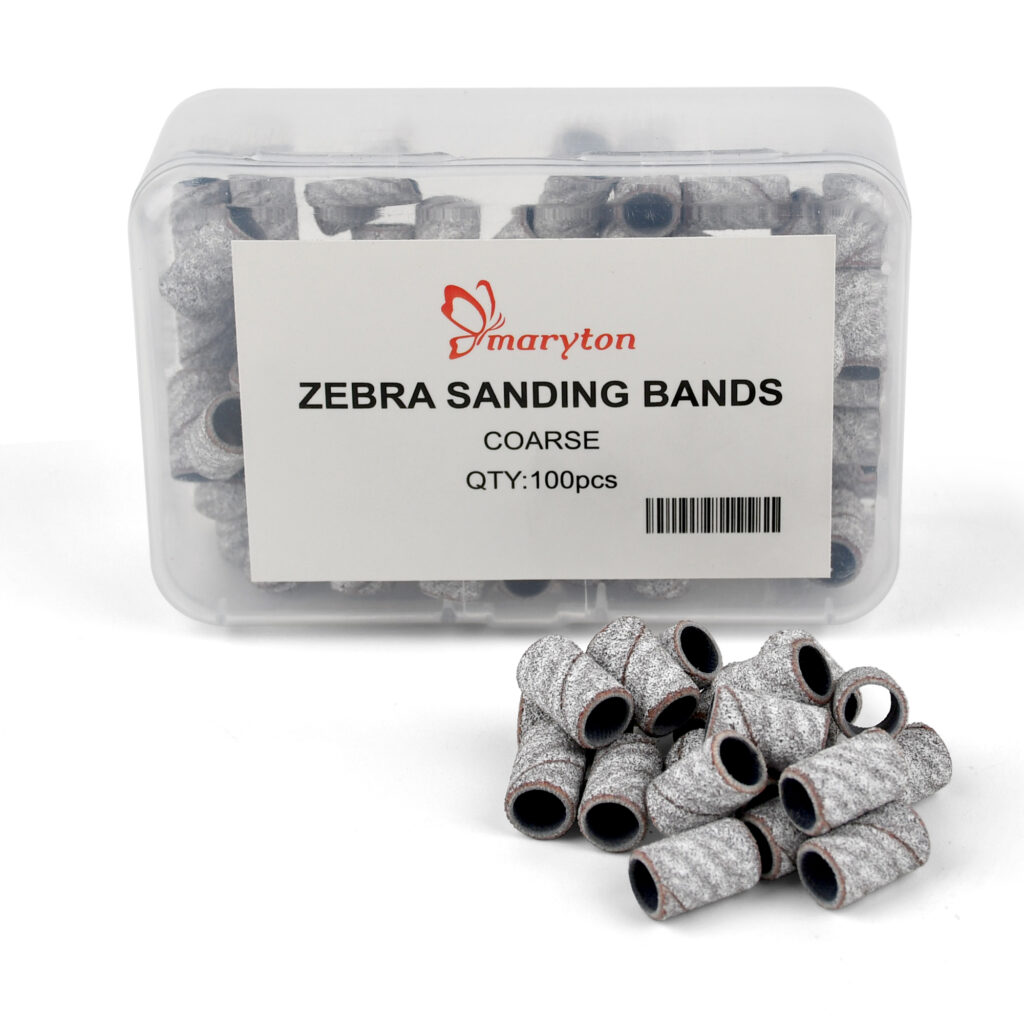
- 80 Grit (Coarse): Best for heavy-duty tasks. Use for removing bulk acrylic or gel, shortening artificial nails, and debulking thick enhancements. Never use on natural nails.
- 120–150 Grit (Medium): A versatile workhorse. Ideal for shaping sidewalls, refining surfaces, removing gel polish, and general smoothing. A 120-grit band offers a balanced level of abrasion for shaping, buffing, and refining.
- 180 Grit (Fine): Excellent for surface preparation before applying enhancements or polish. Great for shaping, smoothing overlays, and blending tips.
- 240 Grit (Extra Fine): The gentlest option. Perfect for delicate natural nail prep before application, final smoothing, and finishing work. Often labelled with an “F” for fine.
Many professional brands colour-code their bands for quick identification—for example, brown for 80 grit, purple or blue for medium grits like 120, and white for fine grits like 180 or 240.
Band Sizes (Diameters)
Sanding bands come in several widths to match different nail plates and precision needs:
- Standard bands (approximately 12.77mm wide): The everyday choice for most services—shaping, smoothing, and prep on larger nail plates.
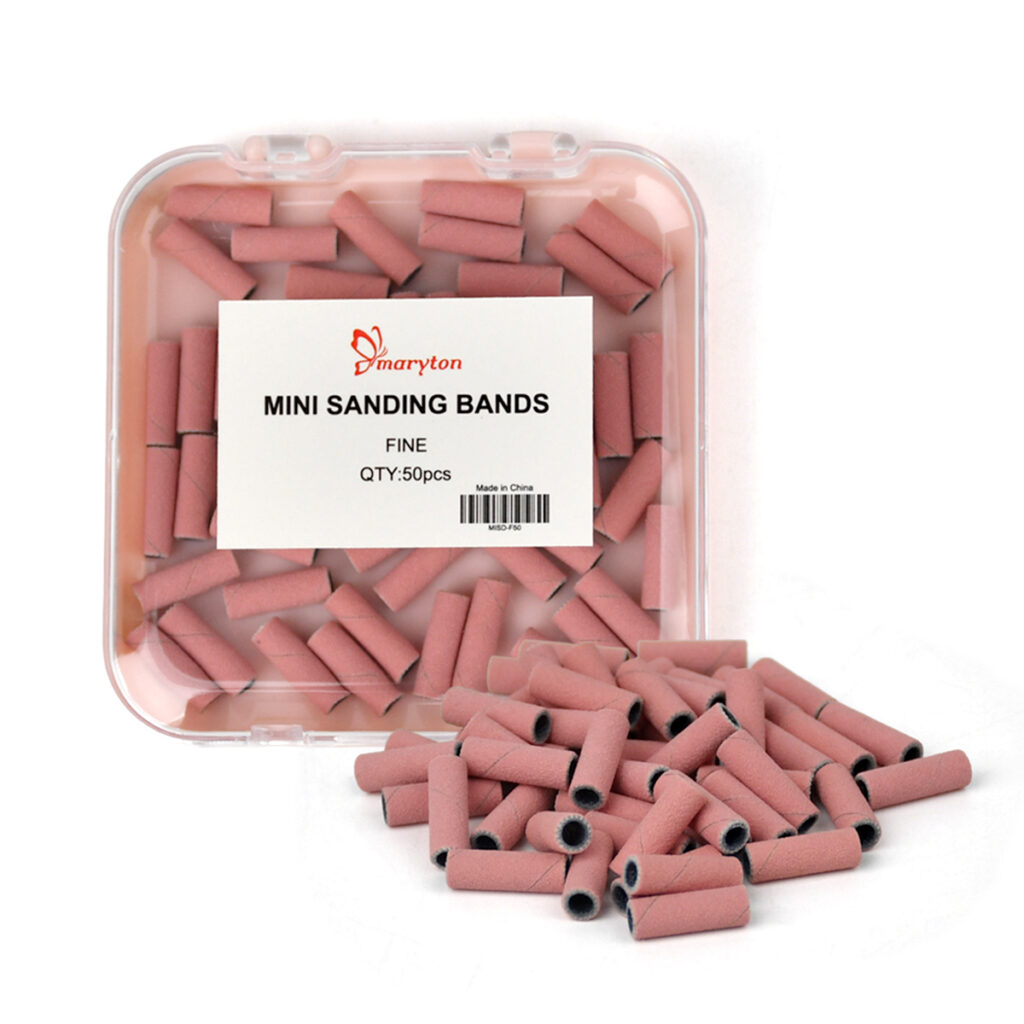
- Mini bands (approximately 8.75mm wide): Designed for precise detail work. Excellent for cleaning sidewalls, cuticle contouring, and small nail plates.
- Long Mini bands: Combining a narrow diameter with extra length for reaching into recessed areas like deep sidewalls while maintaining a small footprint.
Mandrel Compatibility
All sanding bands require a mandrel bit to attach to your e-file. The industry standard shank size is 3/32 inch (2.35mm), which fits most professional nail drills. Some systems use larger 1/8 inch mandrels, so always check compatibility before purchasing. High-quality mandrels feature a rubber cushion that expands to grip the band securely, preventing loosening during use.
How to Choose the Right Sanding Band
Selecting the correct band comes down to three factors: grit, size, and the task at hand.
Match Grit to Task
- Coarse (80 grit): Heavy acrylic removal, shortening extensions, removing thick overlays. Never touch natural nails.
- Medium (120–150 grit): Removing gel polish, refining acrylic shapes, general surface work. Can touch natural nails with very low speed and light pressure.
- Fine (180 grit): Prepping natural nails, smoothing builder gel, finishing surfaces. Safe for natural nails.
- Extra Fine (240 grit): Gentle final smoothing, polishing, delicate prep before gel application. Safest choice for natural nails.
Match Size to Area
- Standard bands: General filing and shaping across the nail plate.
- Mini bands: Detailing sidewalls, cuticle areas, and small nail plates.
- Long Mini bands: Accessing deep sidewalls and curved nail contours.
Choose Based on Nail Type
- Natural nails: Use only fine or extra-fine grit (180–240) at low speed with light pressure.
- Acrylic or hard gel: Start with coarse or medium grit for removal, then switch to fine for finishing.
- Gel polish removal: Medium grit works efficiently to break the seal and remove colour.
Why Choosing the Correct Sanding Band Is Crucial
Using the wrong band isn’t just inefficient—it can cause real damage.
Coarse bands on natural nails are a common mistake that can thin the nail plate, create deep grooves, and leave nails weak and sensitive. As one expert notes, the barrel shape of a sanding band makes it difficult to hold perfectly flat against the natural nail, and the edge can easily dig in if you’re not careful. A low RPM and lighter pressure are always recommended on natural nails to prevent removing nail plate layers.
Using fine grits for bulk removal wastes time and generates unnecessary friction heat, which can be uncomfortable for the client and wears out the band quickly.
Running coarse grits at high RPM on natural nails creates a burning sensation, removes too much product too quickly, and leaves permanent grooves known as “rings of fire”.
Mixing up band sizes on the wrong mandrel leads to loose bands that slip during use—a safety hazard that reduces control and can cause accidental injuries.
The Benefits of Using Sanding Bands
When chosen and used correctly, sanding bands offer numerous advantages over other bit types.
Single-use hygiene is perhaps their greatest benefit. Sanding bands are disposable—you use one band per client and then discard it. This eliminates the risk of cross-contamination entirely, as fabric‑based bands cannot be properly sterilised. Using them in hygienic packaging and disposing of them after each use meets professional sanitation standards and protects both you and your clients.
They are affordable and beginner-friendly. Sanding bands are the cheapest bit option and behave like a familiar hand file powered by an e‑file, making them much easier to learn with than aggressive metal bits.
They generate less heat and offer excellent versatility. Sanding bands are less aggressive than carbide or ceramic bits, making them excellent for refining surfaces, blending acrylic into natural nails, and removing shine. Because they abrade rather than cut, they produce less friction and heat, which is more comfortable for the client and reduces the risk of heat-related damage.
They are available in precision sizes. Mini and long mini bands allow you to navigate delicate sidewalls and cuticle areas with accuracy and ease, enhancing control during detailed prep work.
Using Sanding Bands Safely
To protect natural nails and get the best results:
- Use low RPM and light pressure on natural nails (8,000–10,000 RPM).
- Keep the bit moving constantly—never stop in one spot for more than a second.
- Hold the band flat against the nail surface. Tilting creates grooves and damage.
- Never reuse a sanding band. Discard after each client.
- Avoid inserting the band too deep into the mandrel, which causes excessive vibration and reduces control.
The Bottom Line
Sanding bands are essential tools in any e‑file kit—affordable, hygienic, and versatile. By understanding grit levels, matching bands to tasks, and following safety guidelines, you can protect natural nails while achieving smooth, professional results every time.
Read also: The Complete Guide to Professional Pedicure at Home: Salon-Soft Feet Without the Appointment